

Contents
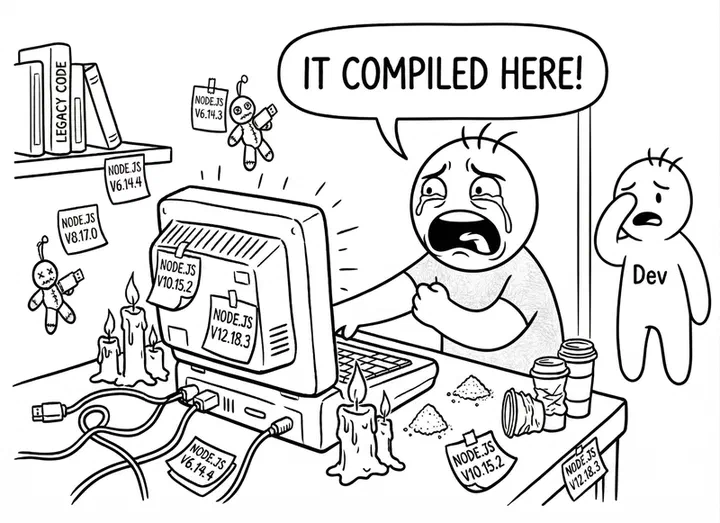
If there’s one thing that unites the Python community above any PEP, it’s the shared pain of having multiple interpreter versions coexisting on the same machine.
One day you install Python 3.8 “for a project,” the next month 3.11 because another project demands it, then some random installer sneaks Python 3.10 into your PATH without asking… and you end up staring at the crime scene:
python --version     # 3.11.4
python --version    # 3.10.12
pip --version        # points to 3.8 somewhere on disk
You run a pip install convinced it’s targeting your project, but it actually lands on the system Python; another project breaks, VS Code gets confused, so do you, and suddenly “I hate Python” when what you actually hate is the dumpster fire you’ve been stoking.
Let’s sort this out with three ideas:
- Why multiple Python versions are a headache if you manage them by hand.
- What virtual environments are (and why you shouldn’t live without them).
- How to use pyenv to install, choose, and isolate Python versions on Windows, macOS, and Linux without tearing your hair out.
The problem with a thousand loose Pythons
Python has two “layers” that mix together way too easily:
- The interpreter version (3.8, 3.10, 3.12…).
- The packages installed in each location (Django, FastAPI, NumPy, etc.).
If you install Python from the official website on Windows, then from the store, then from an IDE, then the one that ships with the system (on Linux or macOS)… you end up with several interpreters scattered across your disk. Each one can have its own folder of “global” packages.
Without a tool to keep things in order, stuff like this happens:
- An old project that only works on 3.9, but your default
pythonis 3.12. - A
pip installthat stomps on another project’s dependencies because you’re using the system Python. - CI scripts that work in one environment and fail in another, because it’s not the same
pythoneven though the command has the same name.
That’s where two lifesavers come in: virtual environments and a version manager.
Let’s start with the first one.
Virtual environments: each project gets its own little world
A virtual environment (venv) is a folder that contains:
- A copy (or “view”) of a specific Python.
- Its own
pip. - Its own folder for installed packages.
Inside the venv, when you run pip install, only that environment gets touched — not the global Python, not other projects.
The usual workflow (without pyenv yet):
python -m venv .venv      # create virtual environment in the .venv folder
source .venv/bin/activate # Linux / macOS
# or .venv\Scripts\activate on Windows (cmd/PowerShell)

pip install requests
python main.py
deactivate                 # exit the environment
The idea is that, for example:
- Project A has its own
.venvwith its dependencies and its Python version. - Project B has its own, separate and conflict-free.
That alone eliminates a lot of headaches.
But something’s still missing: where does that “python” you use to create venvs come from? How do you decide that this project runs on 3.8 and that one on 3.12?
That’s where pyenv shines.
pyenv: a sheriff for your Python versions
pyenv is a Python version manager that takes care of installing, listing, and choosing which Python version is used in each context (global, per project, per terminal).
What it does, in a nutshell:
- Downloads and compiles different Python versions into
~/.pyenv/versions. - Adds a small “shim” to your PATH so that
python,python,pip, etc., point to the version you’ve chosen. - Lets you define:
- A global version for your user.
- A local version per project (a
.python-versionfile in that directory). - A version just for the current session (
pyenv shellcommand).
With that, you can say things like “in general, use Python 3.12, but in this specific folder, every time I enter it, I want 3.10,” and pyenv takes care of redirecting the binaries to the right version.
Let’s see how to install and use it on each system.
Installing pyenv on Linux (Ubuntu as an example)
On Ubuntu (and most Linux distros), the recommended method today is using the official pyenv-installer script or pyenv.run, which sets everything up.
- Install dependencies for compiling Python (needed so pyenv can build the versions):
sudo apt-get update
sudo apt-get install -y make build-essential libssl-dev zlib1g-dev \
  libbz2-dev libreadline-dev libsqlite3-dev wget curl llvm \
  libncursesw5-dev xz-utils tk-dev libxml2-dev libxmlsec1-dev \
  libffi-dev liblzma-dev
(There are several guides — ItsFOSS, DedicatedCore, OneUptime — that list variants of this set; the idea is the same: build and compression libraries.)
- Install pyenv with the official installer:
curl https://pyenv.run | bash
This usually installs:
pyenvpyenv-virtualenv(extension for managing venvs from pyenv)pyenv-update
- Add pyenv to your shell configuration (example for
bash):
In ~/.bashrc or ~/.bash_profile (depending on whether you use a login shell or not), add:
export PYENV_ROOT="$HOME/.pyenv"
[[ -d $PYENV_ROOT/bin ]] && export PATH="$PYENV_ROOT/bin:$PATH"
eval "$(pyenv init -)"
# Optional: for pyenv-virtualenv
# eval "$(pyenv virtualenv-init -)"
Save and reload:
source ~/.bashrc
- Check it:
pyenv --version
If it responds with a number instead of “command not found,” you’re good to go.
Installing pyenv on macOS (with Homebrew)
On macOS, the easy route is Homebrew.
- Make sure you have Homebrew (
brew --version). If not, install it frombrew.sh(a single command on the official site). - Install pyenv:
brew update
brew install pyenv
- Configure your shell. On modern macOS, you use
zshby default, so in~/.zshrcadd something like:
export PYENV_ROOT="$HOME/.pyenv"
export PATH="$PYENV_ROOT/bin:$PATH"
eval "$(pyenv init -)"
(If you use bash, same thing but in ~/.bash_profile or ~/.bashrc.)
- Reload the shell:
source ~/.zshrc
- Check it:
pyenv --version
If it responds properly, you can start installing Pythons like it’s an open bar.
Installing pyenv on Windows
On Windows you can’t use the “classic” pyenv (it’s designed for Unix), but there’s pyenv-win, a dedicated port.
There are two common paths: manual and with a package manager.
With the installer / manual (pyenv-win)
The official pyenv-win docs explain how to clone the repo into %USERPROFILE%\.pyenv\pyenv-win and add its bin and shims to PATH. It’s a bit more hands-on: clone the repo with git, adjust environment variables, and restart your console.
With Chocolatey (much easier)
If you already use Chocolatey (the Windows package manager, kind of like apt but for PowerShell), you can install pyenv-win with a single command:
- Open PowerShell as administrator.
- Run:
choco install pyenv-win
- Make sure the pyenv-win environment variables are configured. The usual guide adds:
[System.Environment]::SetEnvironmentVariable('PYENV', "$env:USERPROFILE\.pyenv\pyenv-win\", "User")
[System.Environment]::SetEnvironmentVariable('PYENV_HOME', "$env:USERPROFILE\.pyenv\pyenv-win\", "User")
[System.Environment]::SetEnvironmentVariable('PATH', "$HOME\.pyenv\pyenv-win\bin;$HOME\.pyenv\pyenv-win\shims;" + $env:Path, "User")
Close and reopen the terminal, then try:
pyenv --version
If you see a version number, you can now use pyenv-win to install and switch Python versions with commands very similar to Linux/macOS.
Using pyenv: list, install, and activate versions (global, local, shell)
With pyenv up and running, the basic workflow is almost the same on every system (with minor Windows quirks).
See what versions are available (remote)
To see all Python versions that pyenv can install:
pyenv install --list
The list is long: you’ll see things like 3.8.18, 3.9.18, 3.10.14, 3.11.9, 3.12.3, plus old versions and even 2.x for archaeology purposes.
Install a specific version
For example, to install Python 3.12.1:
pyenv install 3.12.1
pyenv will download, compile, and place that version in ~/.pyenv/versions/3.12.1 (or wherever it goes on Windows).
You can check which versions you already have installed with:
pyenv versions
You’ll see something like:
  system
  3.10.14
* 3.12.1 (set by /home/youruser/.python-version)
Choosing global, local, and per-shell versions
Here’s where it gets interesting:
pyenv global 3.12.1Sets the global version for your user. From that point on, in any folder without more specific settings,pythonwill point to 3.12.1.pyenv local 3.10.14Creates a file called.python-versionin the current directory with the text3.10.14. Every time you enter that folder (or subfolders), pyenv will automatically use 3.10.14.pyenv shell 3.11.9Changes the Python version only for the current shell session. When you close the terminal, it’s forgotten. Handy for quick tests.
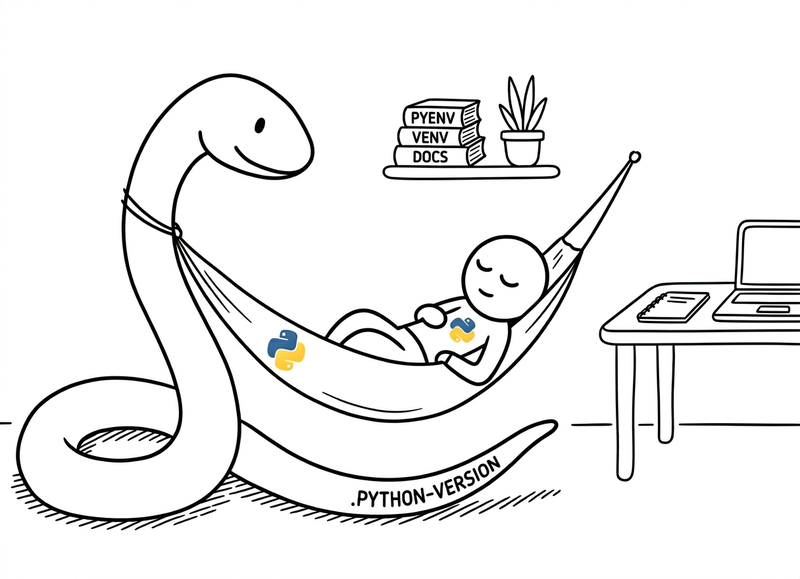
The .python-version file is key:
It’s a plain text file that lives at the root of your project and says “here, use this Python version.” Pyenv reads it, adjusts its shims, and suddenly python, python, and pip point to the right version without you having to do anything else.
You can open it and change it by hand if you want (e.g. 3.11.9 -> 3.12.1), but the normal way is to use pyenv local.
Making sure you’re actually using the version you think
Whenever you touch anything pyenv-related, get in the habit of verifying:
python --version
which python     # or 'where python' on Windows
On Linux/macOS, if everything’s working, which python should point to something like:
/home/your-user/.pyenv/shims/python
And that “shim” path internally redirects to whatever version you’ve chosen (global or local).
pyenv + virtual environments: the clean combo
With pyenv you can also create virtual environments tied to specific versions using pyenv virtualenv (an extension that usually comes with the pyenv.run installer). The typical workflow:
# New project
mkdir ~/projects/webapp && cd ~/projects/webapp

# Install desired Python (if you don't have it yet)
pyenv install 3.12.1

# Create a virtualenv called webapp-env with that version
pyenv virtualenv 3.12.1 webapp-env

# Make this folder use that environment
pyenv local webapp-env

# Verify
python --version
which python
From there:
pip install flask requests pytest
and all those dependencies will live only inside webapp-env. Another project can use 3.10.14 and have its own virtualenv without interfering.
The result is exactly what we were after:
- Python version controlled per project.
- Dependencies isolated per project.
- No random stuff installed into the system Python.
Conclusion: a clean environment takes care of you (and the planet, a little)
It might sound over the top, but a tidy Python environment saves time, frustration, and resources. Fewer hours chasing bugs caused by crossed versions, fewer scorched-earth reinstalls, fewer bloated containers because “who knows what’s installed on my machine.”
With pyenv you decide which Python goes with which project, and with virtual environments you decide which packages live where. Less clutter on your system, less clutter in your head, and even your CI builds can run leaner when they know exactly what they need.
If we’re getting poetic about it: each project with its clear Python version and just the right dependencies is a small act of digital sustainability. Less junk installed “just in case,” less CPU time redoing what we should already have under control… and more energy (yours and the machine’s) spent on things that actually matter.
And if you don’t care about the planet, think about yourself six months from now opening an old repo and saying:
“Thanks, past me, for leaving a .python-version and a clean environment here. You just saved my afternoon.”
Quick glossary
Don’t worry, nobody was born knowing what a shim is. That’s what this is for.
- PEP (Python Enhancement Proposal): a formal document proposing changes or new features for the Python language. They’re the “laws” that govern how Python evolves.
- PATH: an operating system environment variable containing a list of directories where the system looks for executables when you type a command in the terminal.
- shim: a small intermediary executable that pyenv places in your PATH to intercept calls to
python,pip, etc., and redirect them to the correct version based on the active configuration. - pip: Python’s official package manager. It lets you install, update, and uninstall libraries and tools from the PyPI repository.
- CI (Continuous Integration): a practice where every code change is automatically built and tested on a server, usually through pipelines in tools like GitHub Actions or Jenkins.
- login shell: a type of terminal session that opens when you log into the system (or when you open a new terminal on macOS). It loads different configuration files (like
~/.bash_profile) than a regular interactive shell (~/.bashrc).
Sources and references
If someone asks where you got all this, here’s your evidence.
- pyenv - Simple Python Version Management - GitHub. Official pyenv repository with documentation and usage guide.
- Install pyenv on Ubuntu - DedicatedCore. Guide for installing pyenv on Ubuntu with dependencies.
- pyenv Ubuntu - It’s FOSS. Step-by-step pyenv tutorial for Ubuntu.
- How to Install pyenv on Ubuntu 24.04 - Dev.to. Updated guide for Ubuntu 24.04.
- Install Multiple Python Versions with pyenv - OneUptime Blog. Managing multiple versions on Ubuntu.
- How to Install pyenv on Ubuntu 22.04 - EricSysmin. Guide for Ubuntu 22.04.
- Installing pyenv on macOS - Xebia. Installing pyenv on macOS with Homebrew.
- Installing pyenv on Mac - Winston Brown. pyenv tutorial for Mac.
- pyenv in Windows - Dev.to. pyenv-win setup on Windows.
- pyenv-win Installation - GitHub. Official pyenv-win installation docs.
- Chocolatey + pyenv-win - Punaime. Installing pyenv-win with Chocolatey.
- Installing pyenv on Ubuntu Linux - Winston Brown. Alternative pyenv guide for Ubuntu.
Other languages: Español